
Clientish Documents
Step-by-step guides for every module, from your first workspace to proposals, billing, support and automation.
Setting Up Your Workspace
Your company details, brand, mail server, payments and links, in the order a new workspace needs them.
Before you bring in real clients, give your workspace your name, brand, mail server and payment details. Most of it is under Settings → General and Settings → Payment Settings, and it takes about fifteen minutes.
Overview
This guide goes through the settings a new workspace needs, in the order that makes the most sense. The Set up your workspace steps on your Dashboard tick off as you go.
Who Can Access
The workspace owner, and admins whose role allows changing settings.
Step-by-Step Guide
Add your company details
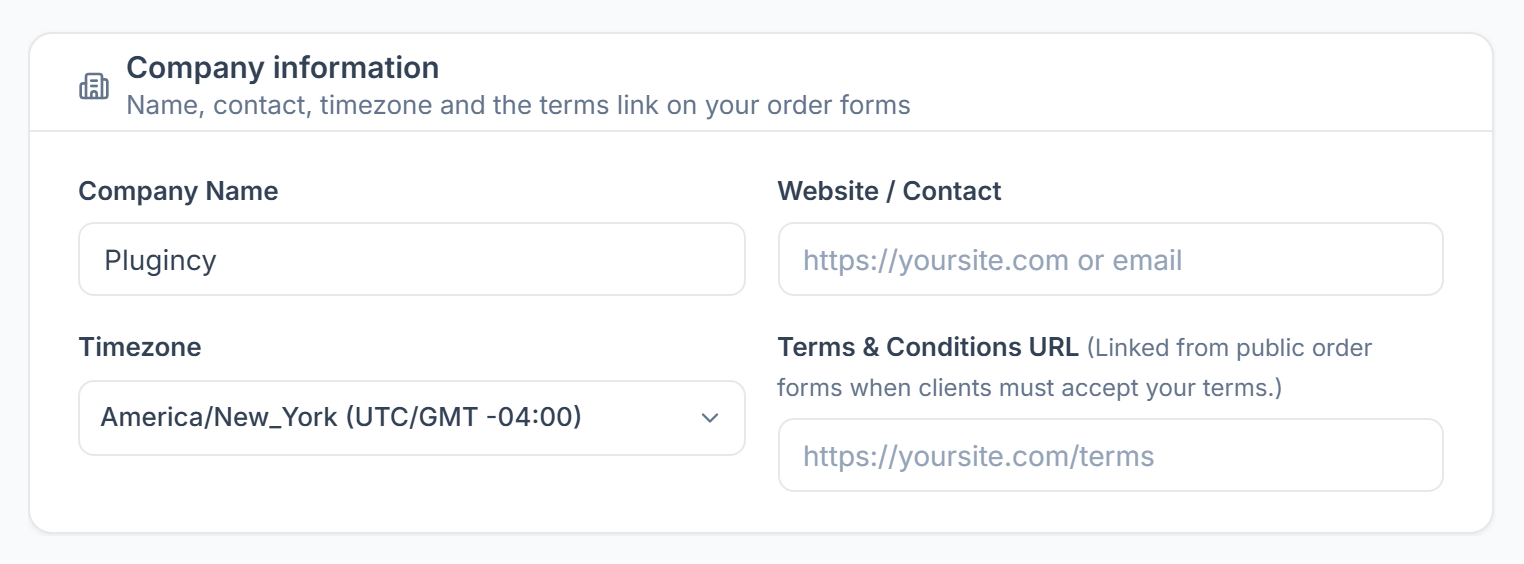
Go to Settings → General. Under Company information, enter your Company Name, website or contact, and your Timezone. If clients must accept your terms on order forms, add your Terms & Conditions URL.

Add your logo and brand colour
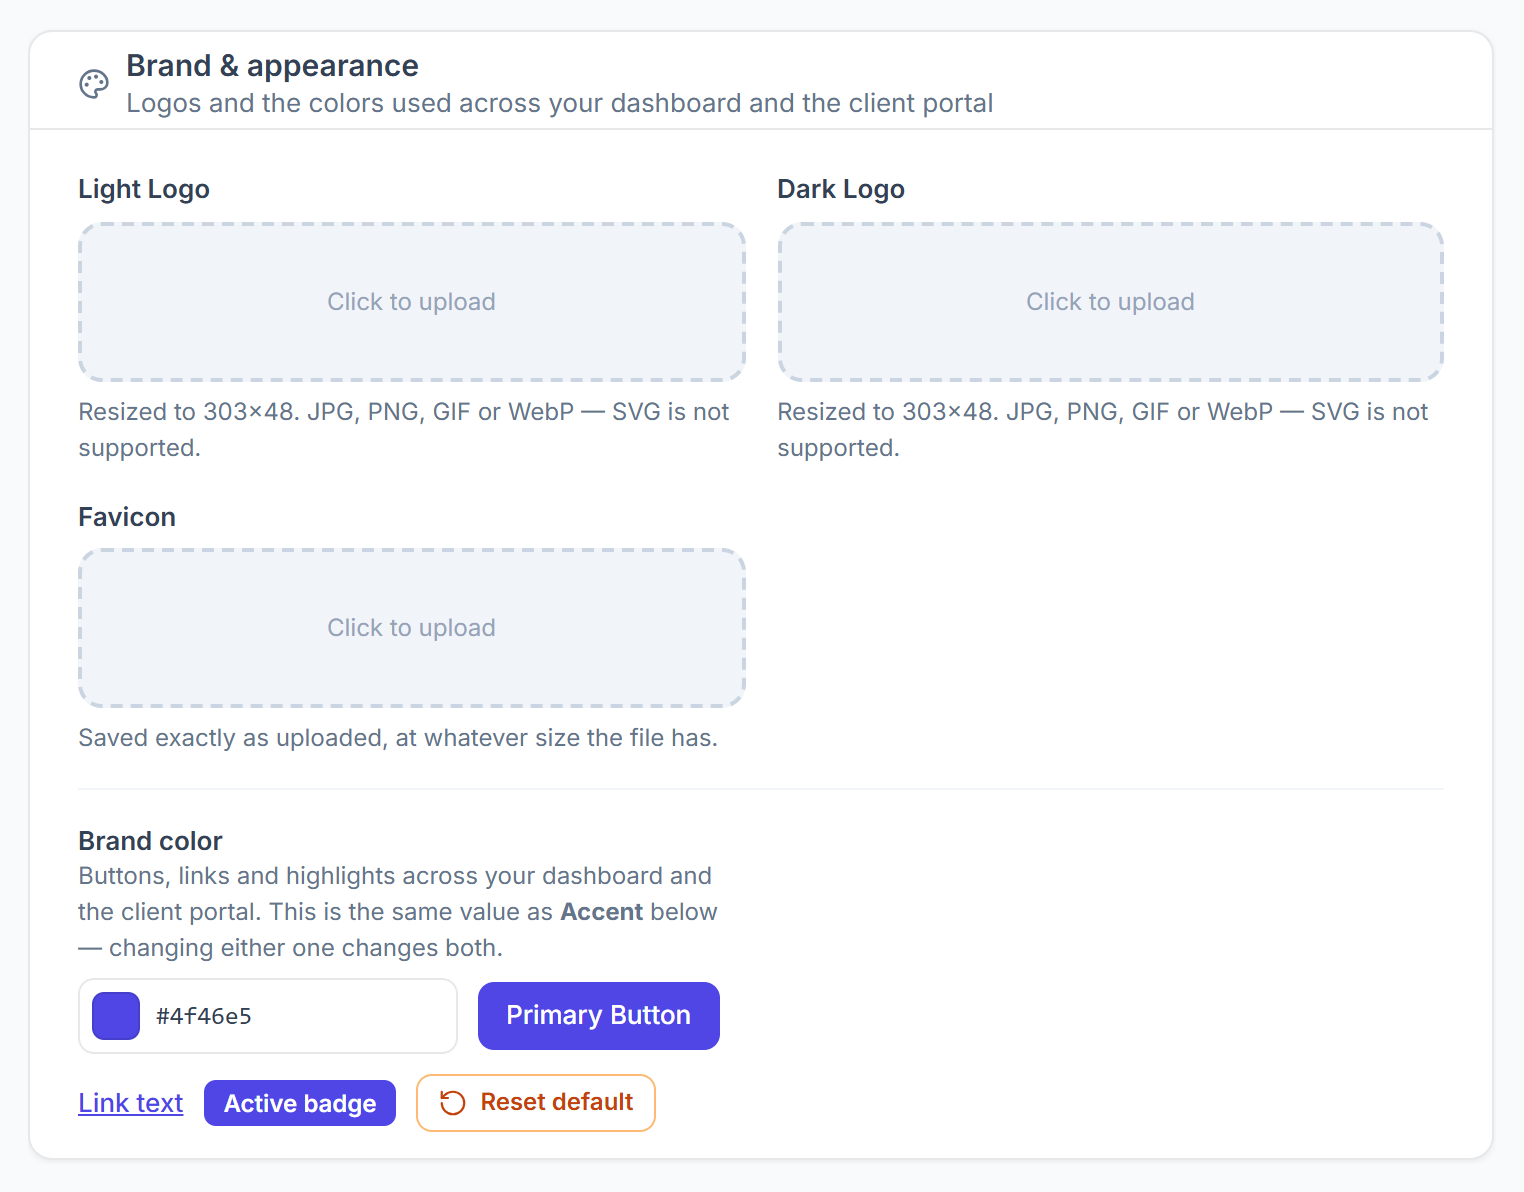
Under Brand & appearance, upload a Light Logo and a Dark Logo (resized to 303×48; JPG, PNG, GIF or WebP, not SVG) and a Favicon. Set your Brand color. It is used for buttons, links and highlights on your dashboard, your team’s and remote members’ dashboards, and your clients’ portal. The portal theme colours below it let you fine-tune the rest.

Click Save changes at the bottom of the page.
Set up your mail server
Still in General, fill in Email (SMTP). Until this is done, no email leaves your workspace, not to clients and not to your team. See SMTP & Mail Config for each field.
Set up payments
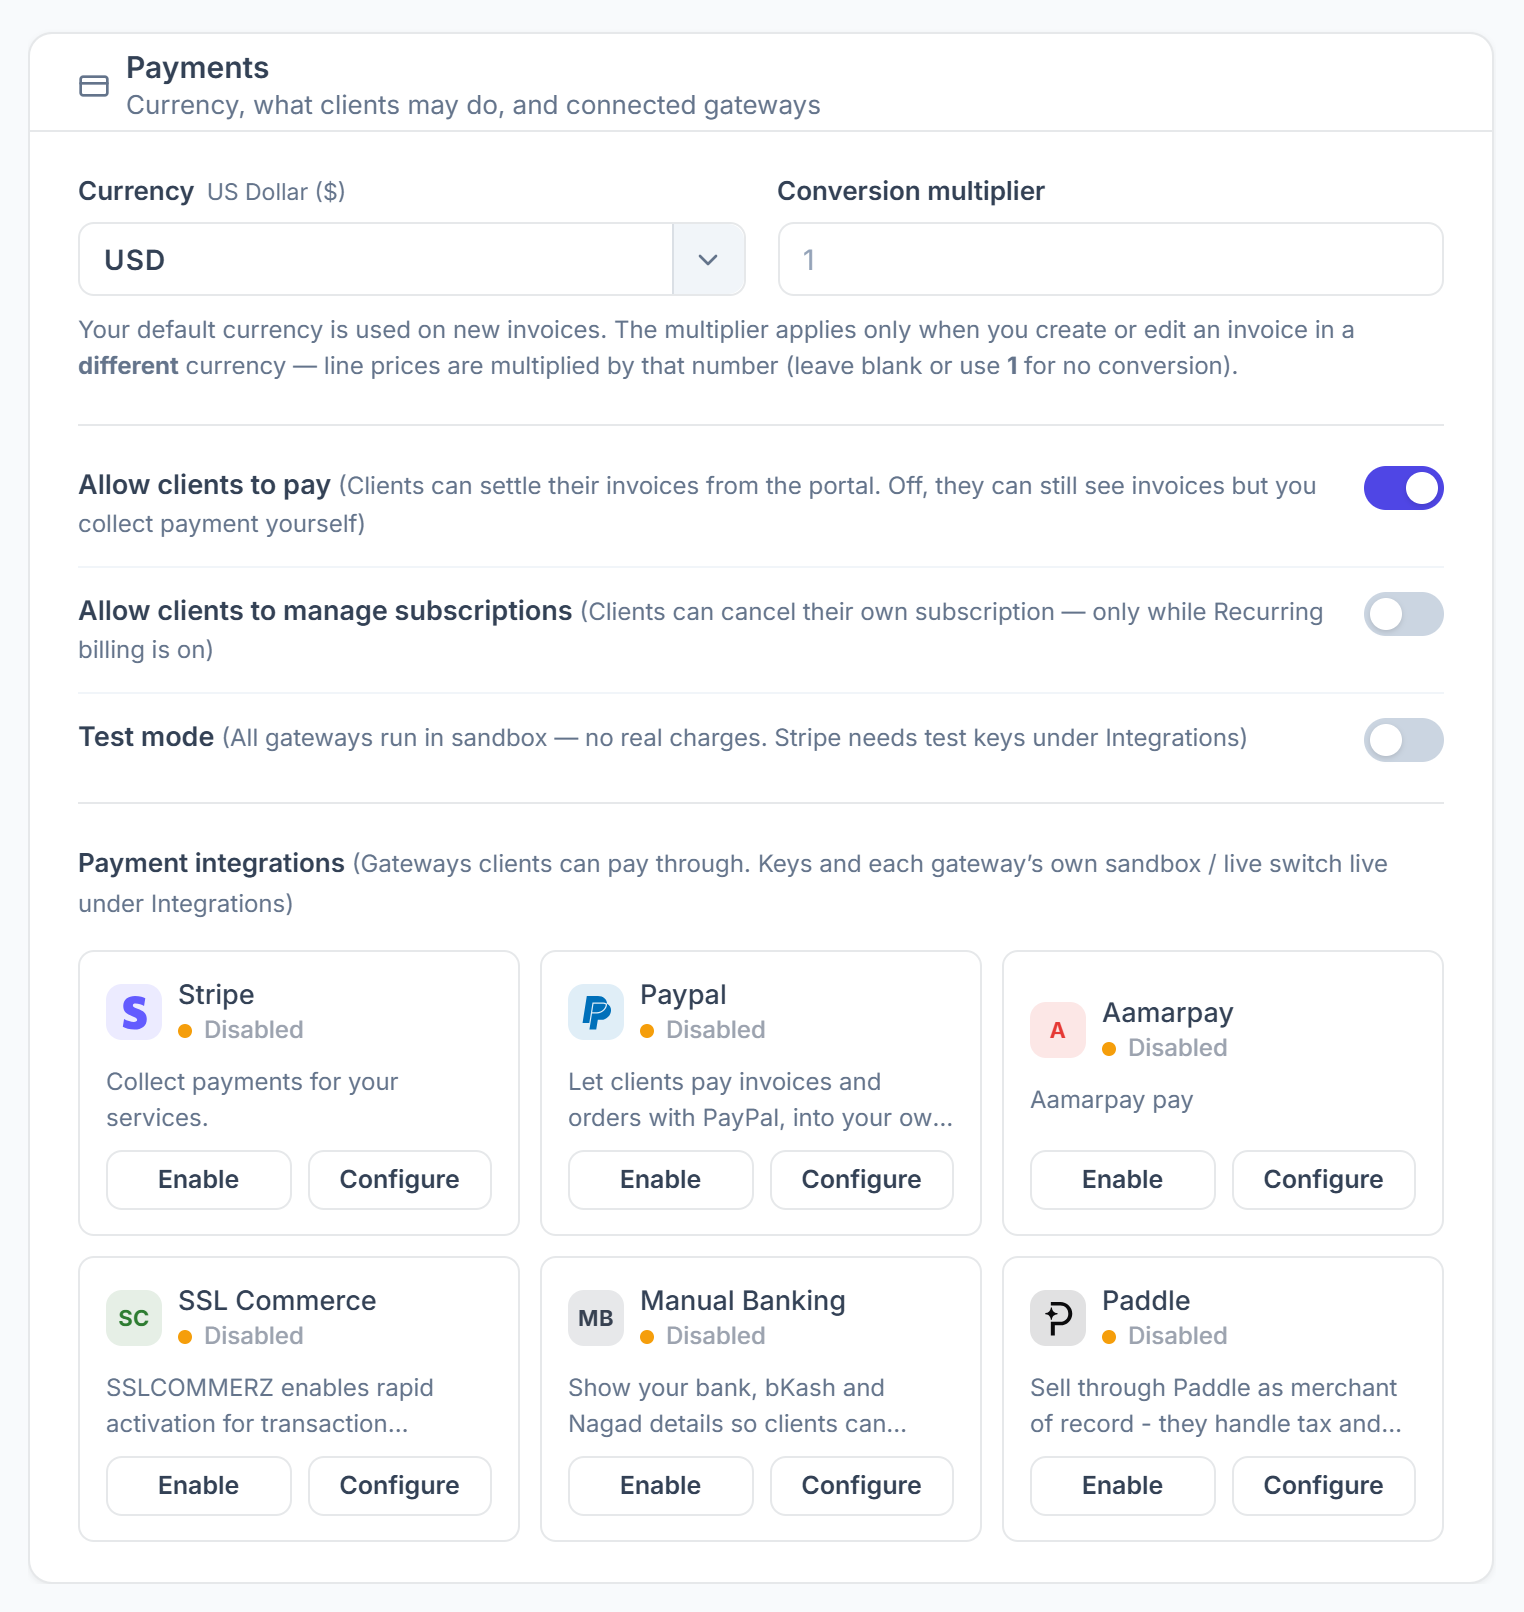
Go to Settings → Payment Settings. Choose your Currency and whether clients may pay from their portal. Under Payment integrations, click Configure to add a gateway’s keys and Enable to turn it on. Turn on Test mode while you try it out; no real charges are made.

The same page sets your invoice numbering and the company details printed on invoices. Tax rates are under Settings → Tax Rules.
Share your workspace links
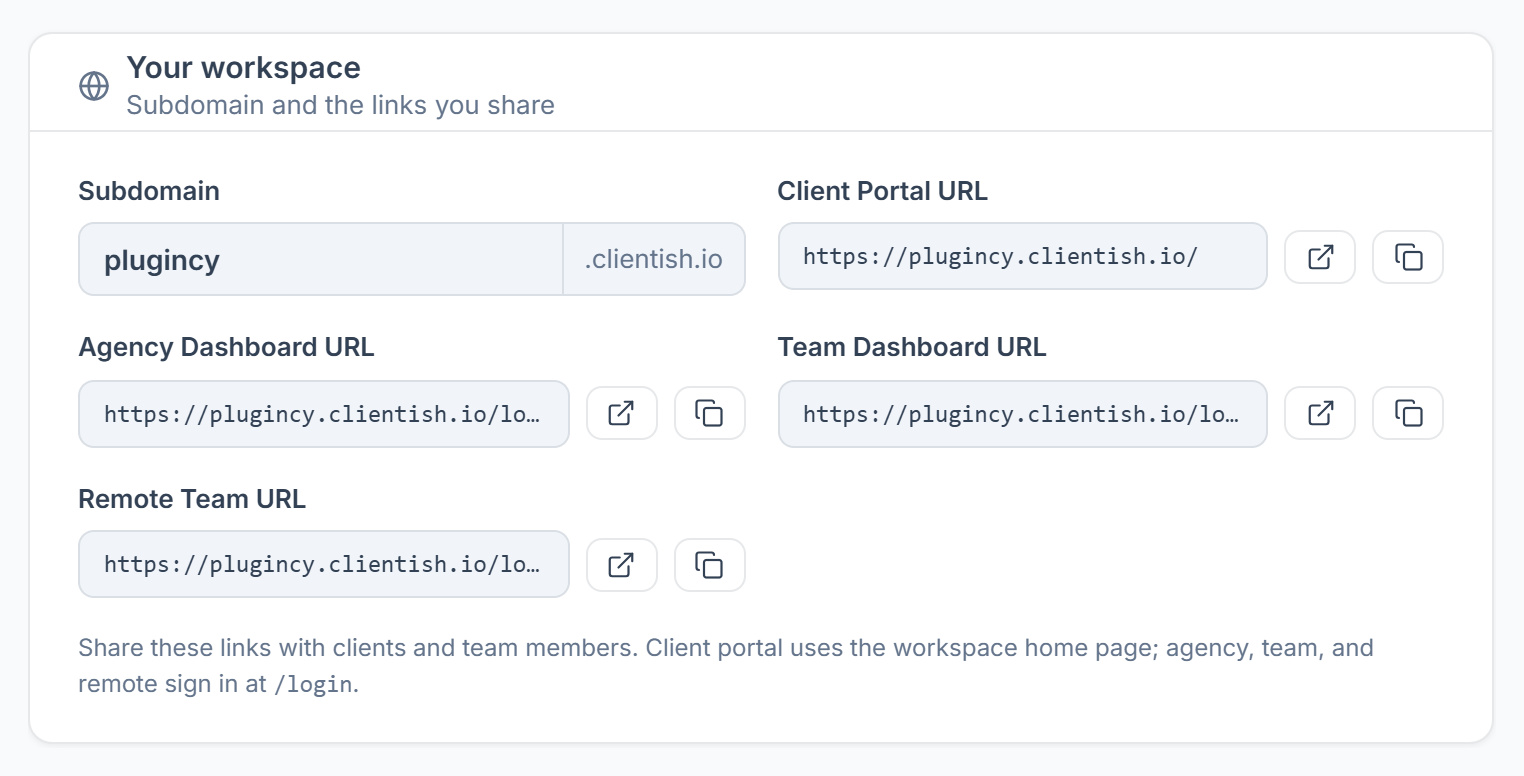
Under Settings → General → Your workspace you find your subdomain and the links to share. Clients use your Client Portal URL, which is your workspace home page. You, your team and remote members sign in at
/login.
Add your team
Add the people you assign orders, tasks and tickets to under Team Members. Each gets their own sign-in and sees only what their role allows. See Add & Edit Member.
Check your email templates
Go to Settings → Email Templates to adjust the emails your workspace sends, such as new invoices and order updates. See Email Templates.
Clear the example data
When you are ready for your own data, click Clear example data in the top bar and confirm Remove example data. Every example client, order, invoice, lead, ticket and chat is removed, with the sample team members. Anything you created yourself stays, and your statuses are kept. This can’t be undone.
Tips & Best Practices
Set up email (SMTP) before you invite clients or team members. Their invitations are sent by email.