
Clientish Documents
Step-by-step guides for every module, from your first workspace to proposals, billing, support and automation.
Orders List: Views, Filters and Search
Table, Kanban and Cards views, status tabs, search and filters, and the order menu.
The Orders page lists every order in your workspace. Switch between three views, filter by status, service, tag, client or team member, and open any order in one click.
Overview
This guide explains the views, the status tabs, search and filters, and the menu on each order.
Who Can Access
Team members see the orders their role allows: only their own, open and working ones, or all of them.
Step-by-Step Guide
Pick a view
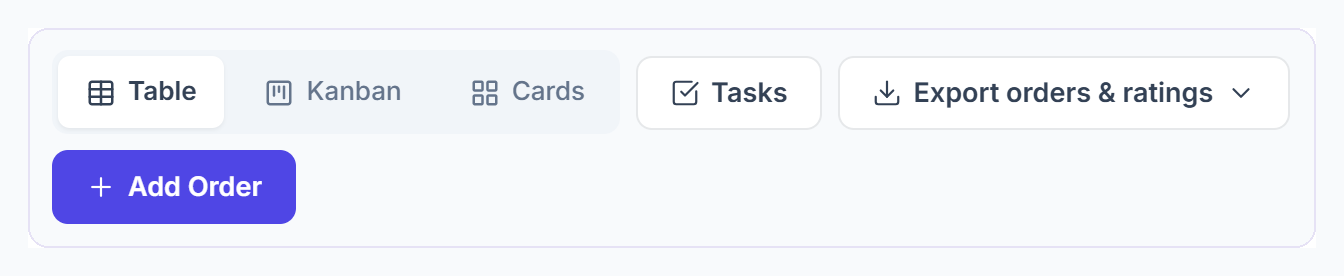
Go to Orders. Choose Table, Kanban or Cards. Your choice is remembered in this browser. Tasks opens every order task in one list, and Add Order creates a new order.

Filter by status
The tabs show how many orders are in each status. Click one to see only those orders, or All to see everything.

Search and filter
Search by order number or the client’s name or email. Narrow the list with All Services, All Tags, All Clients and All Assignees, and click Clear to start again. In the Table view, click a column title to sort by it, and choose 5 to 50 orders per page at the bottom.
Use the Kanban board
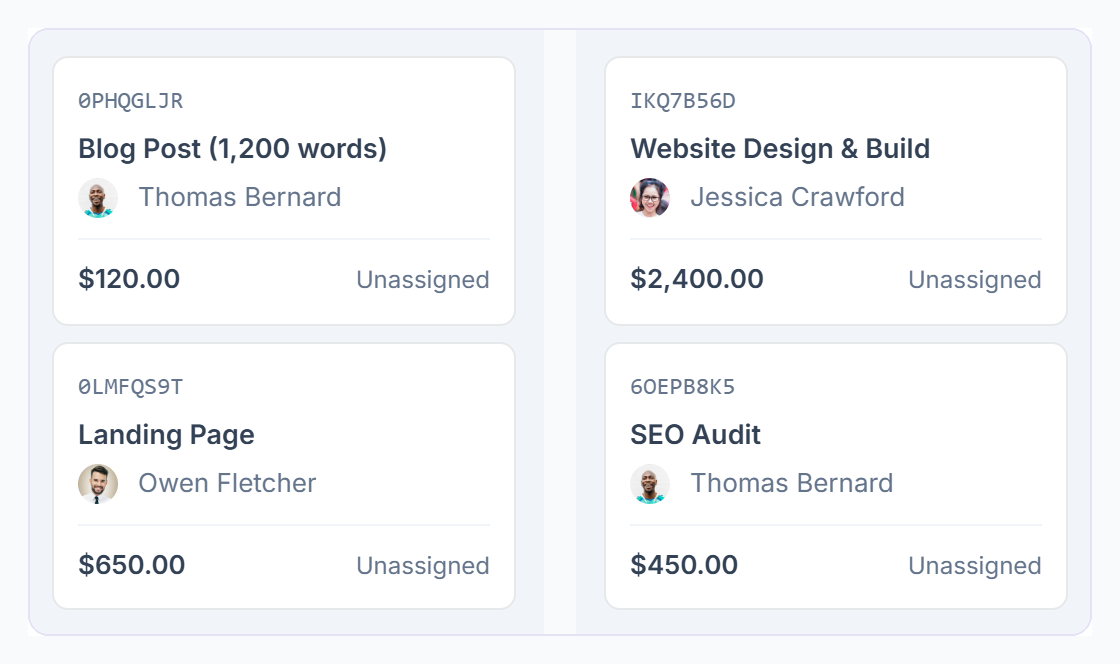
In Kanban, each status is a column. Drag an order to another column to change its status. The board shows the orders on the current page.

Open the order menu
The ⋮ menu on each row has View Details, Edit Order, Duplicate and Delete. If the client asked for a revision, it also has Start revision or Mark revision done.



The Table Columns
Order No., Client, Service, Amount, Assigned, Status, Created, Due Date and Updated. A due date turns red when it has passed and amber when it is less than three days away. Click + in the Assigned column to assign someone without opening the order.