Clientish Documents
Step-by-step guides for every module, from your first workspace to proposals, billing, support and automation.
The Ticket Page and Replies
Reply to your client, attach files, and see the status, SLA and details of a ticket.
The ticket page is where you talk to your client, change the status and see everything about the ticket.
Overview
This guide walks through the ticket page: the header, the conversation, replying and the Info tab.
Who Can Access
Team members need Manage Ticket Messages to reply.
Step-by-Step Guide
Open a ticket
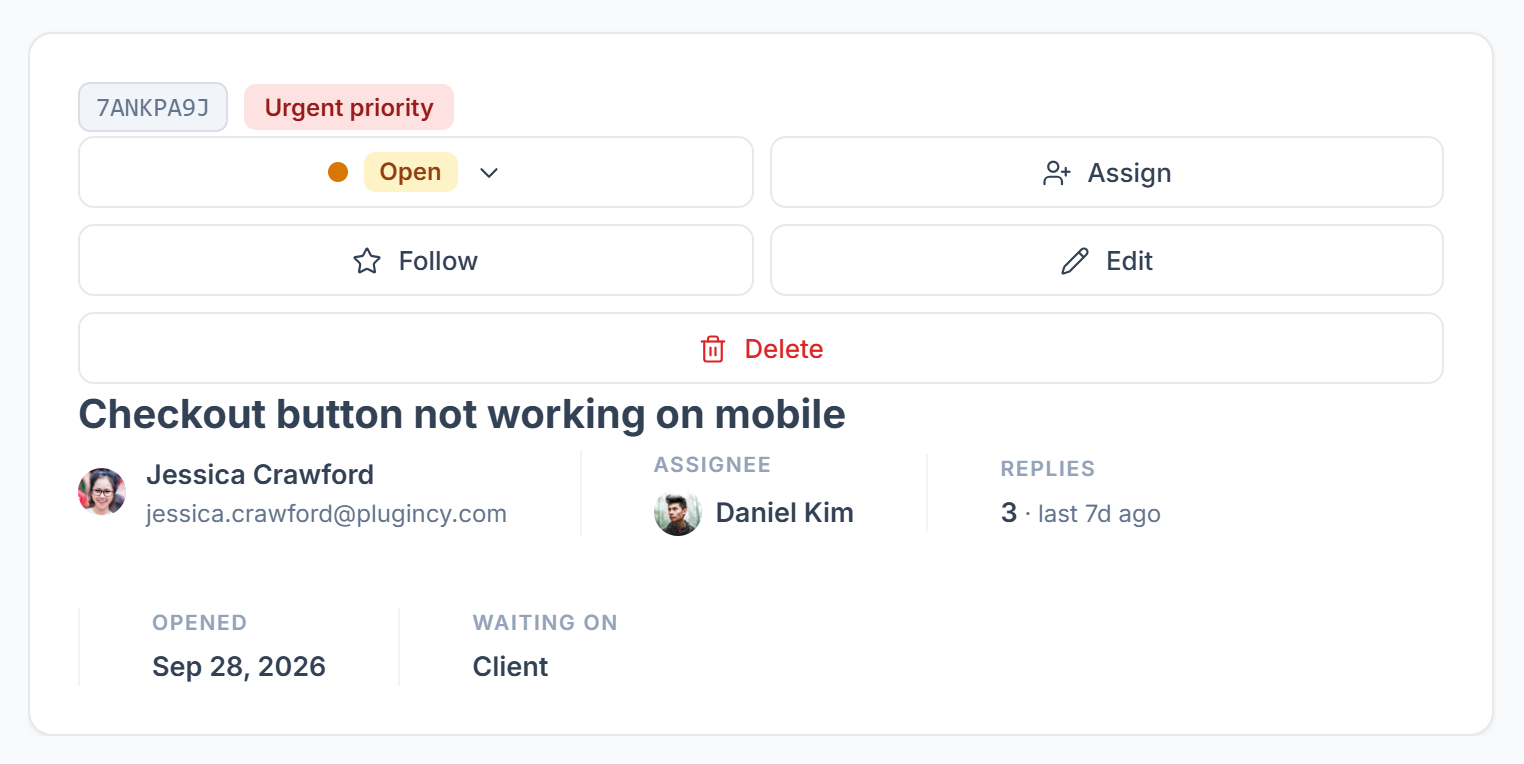
Click the ticket number. The top shows the number, priority and SLA, the status dropdown and the buttons Assign, Follow, Edit and Delete. Below the subject you see the client, who is assigned, how many replies there are, when it was opened and who it is Waiting on: your reply or the client.

Read the conversation
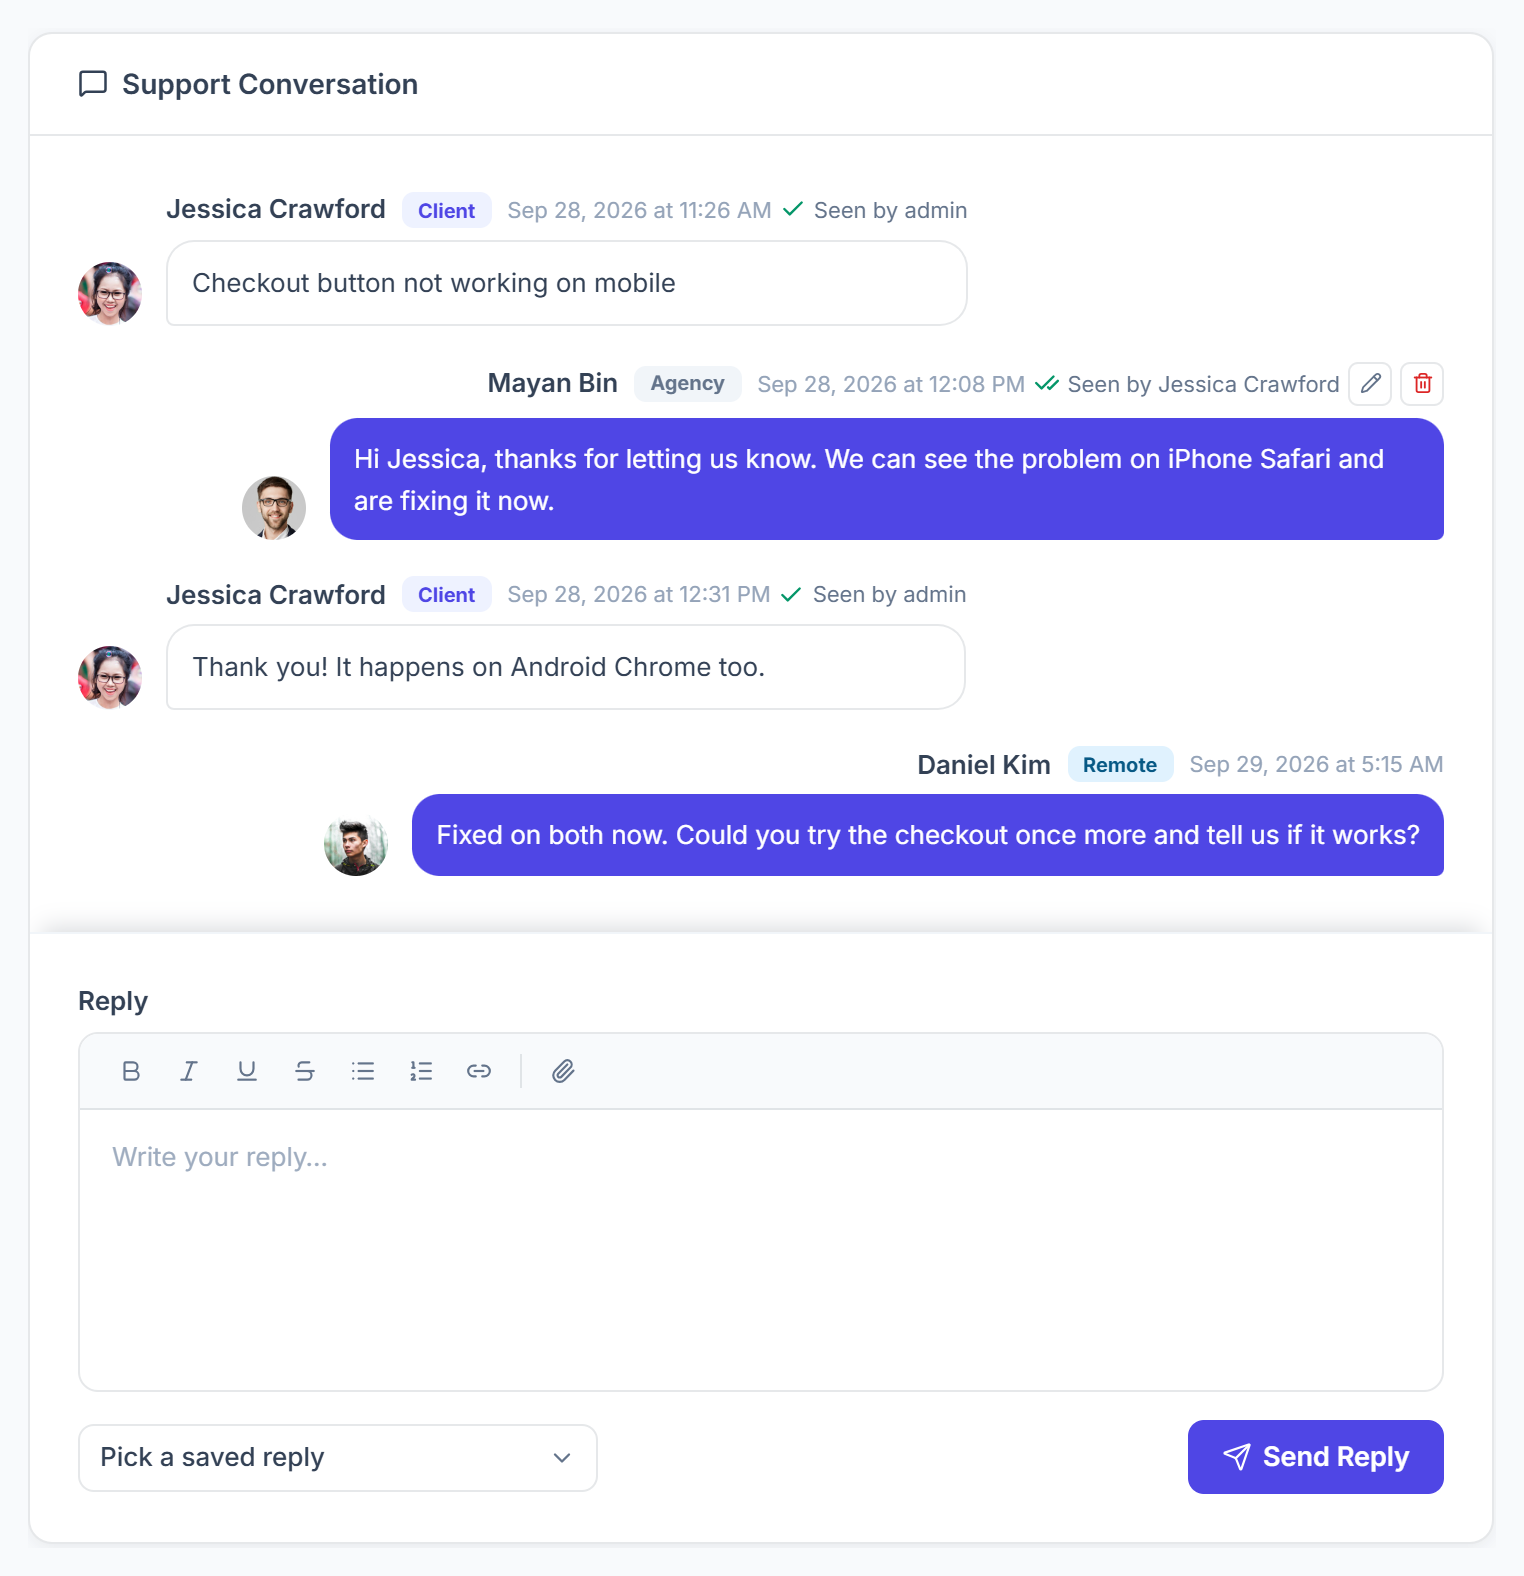
Support Conversation shows the client’s request and every reply, with who sent it and when. If the reply time has passed, a red banner tells you by how much.

Reply
Write in Reply and click Send Reply. Pick a saved reply fills in a template you made in Settings → Saved Replies. You can edit or delete your own replies later.
Add a file
Click the paperclip to upload a file, up to 100 KB. It is added to the ticket’s Attachments straight away, not to a reply.
Check the details
The Info tab shows the status, priority, who is assigned, when the client was last seen, the SLA target and due time, the first reply time, the client’s rating and the related order. Below it are the client, assignees, CC, tags and the client’s orders.


Tags and Follow
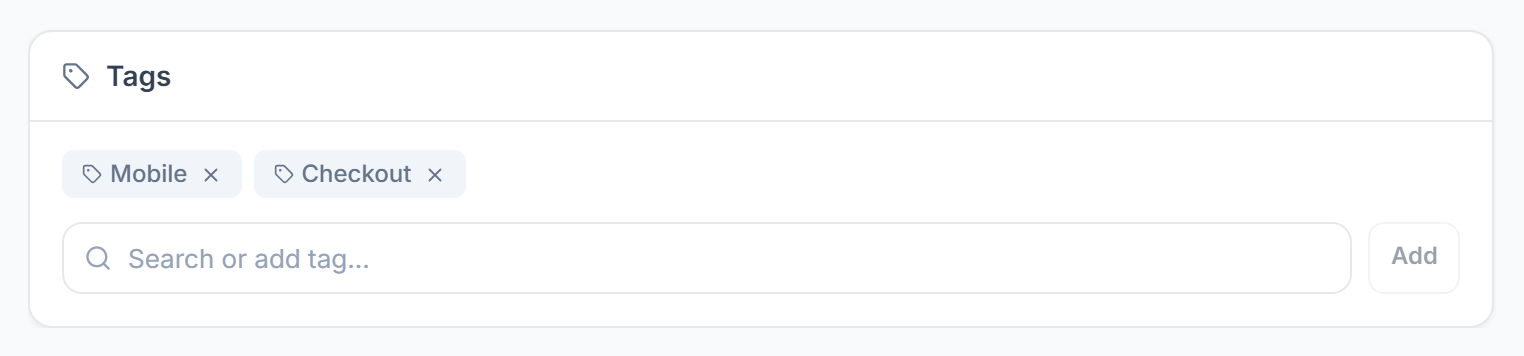
- Tags: search or type a tag and click Add; new tags are created on the spot. Only your team sees them.
- Follow: marks the ticket as Following for you. It doesn’t send you notifications.