Clientish Documents
Step-by-step guides for every module, from your first workspace to proposals, billing, support and automation.
Ticket Statuses and Response Times
Set ticket response times, turn on ticket ratings and manage ticket statuses.
Decide how quickly your team should answer tickets, whether clients can rate your support, and which statuses a ticket moves through.
Overview
This guide covers Settings → Ticket Statuses. Order statuses are set separately; see Order Statuses and Order Rules.
Who Can Access
Team members need Manage Ticket Statuses.
Step-by-Step Guide
Turn on ticket ratings
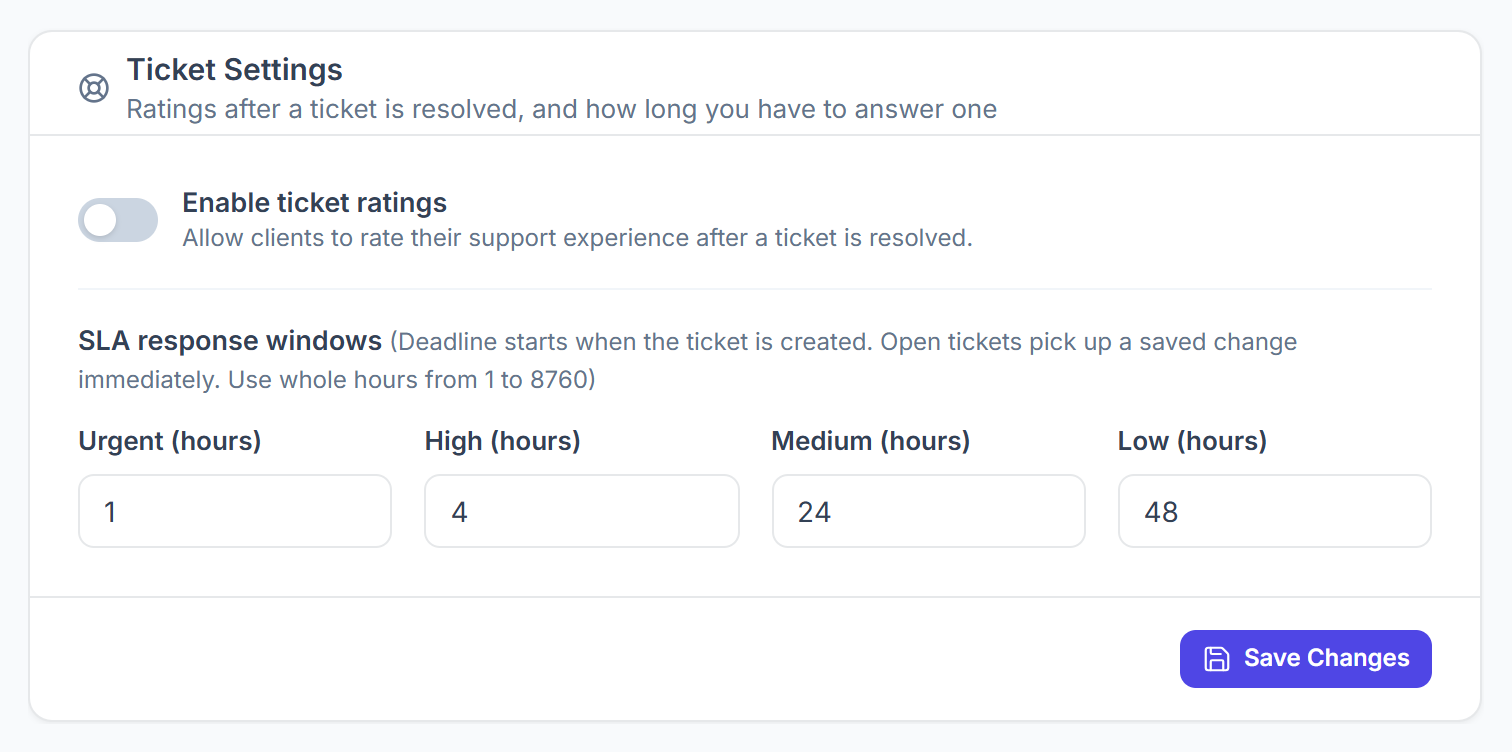
Go to Settings → Ticket Statuses. Turn on Enable ticket ratings to let clients rate their support after a ticket is resolved.
Set the response times
Under SLA response windows, enter how many hours your team has to answer a ticket of each priority: Urgent, High, Medium and Low. The defaults are 1, 4, 24 and 48 hours. Use whole hours from 1 to 8760. The deadline starts when the ticket is created, and open tickets use a new value as soon as you save it. Click Save Changes.

Add a ticket status
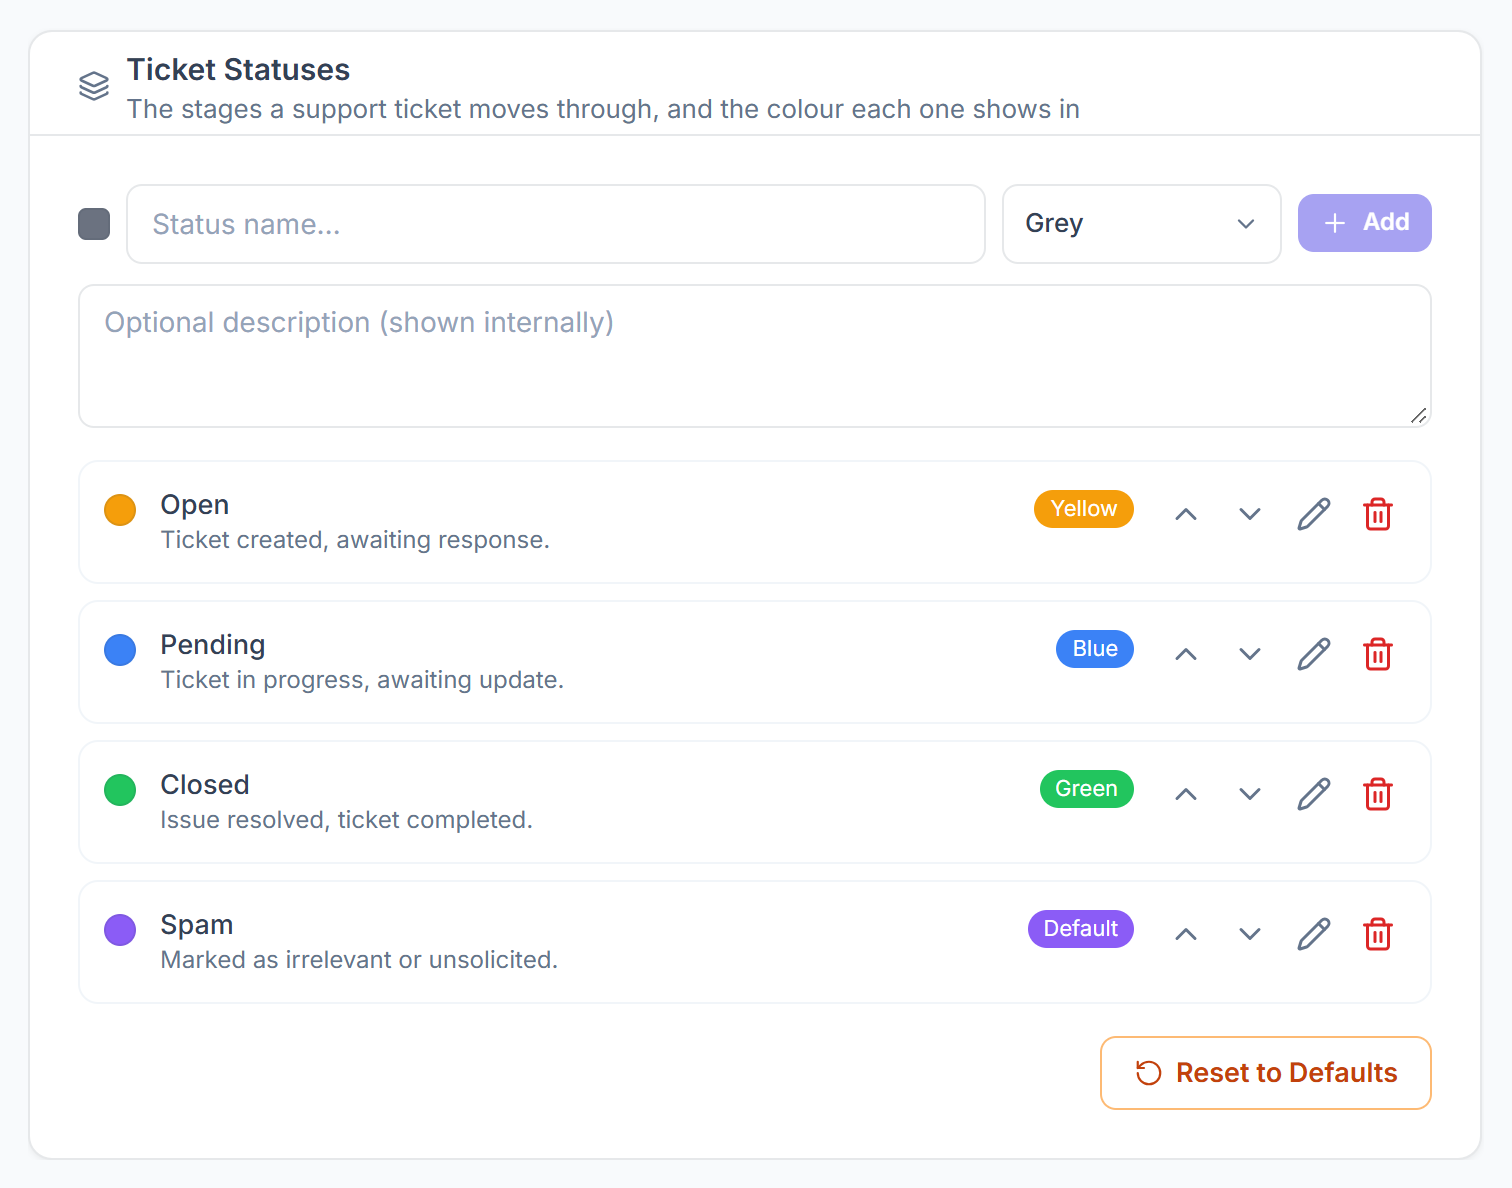
Under Ticket Statuses, type a name, pick a colour, add an optional description for your team and click Add.
Order, edit or delete statuses
Use the arrows to move a status up or down, the pencil to edit it, and the bin to delete it. Reset to Defaults brings back the four built-in statuses: Open, Pending, Closed and Spam.