Clientish Documents
Step-by-step guides for every module, from your first workspace to proposals, billing, support and automation.
The Lead Page
Everything on one lead: the inquiry, pipeline, notes and activity.
Each lead has its own page with what they asked for, your conversation and emails, the status, assignees, follow-up and notes.
Overview
This guide walks through the lead page from top to bottom.
Who Can Access
Team members need View Leads to open a lead and Edit Leads to change it.
Step-by-Step Guide
Open a lead
Click the lead’s name on the Leads page.
Use the buttons
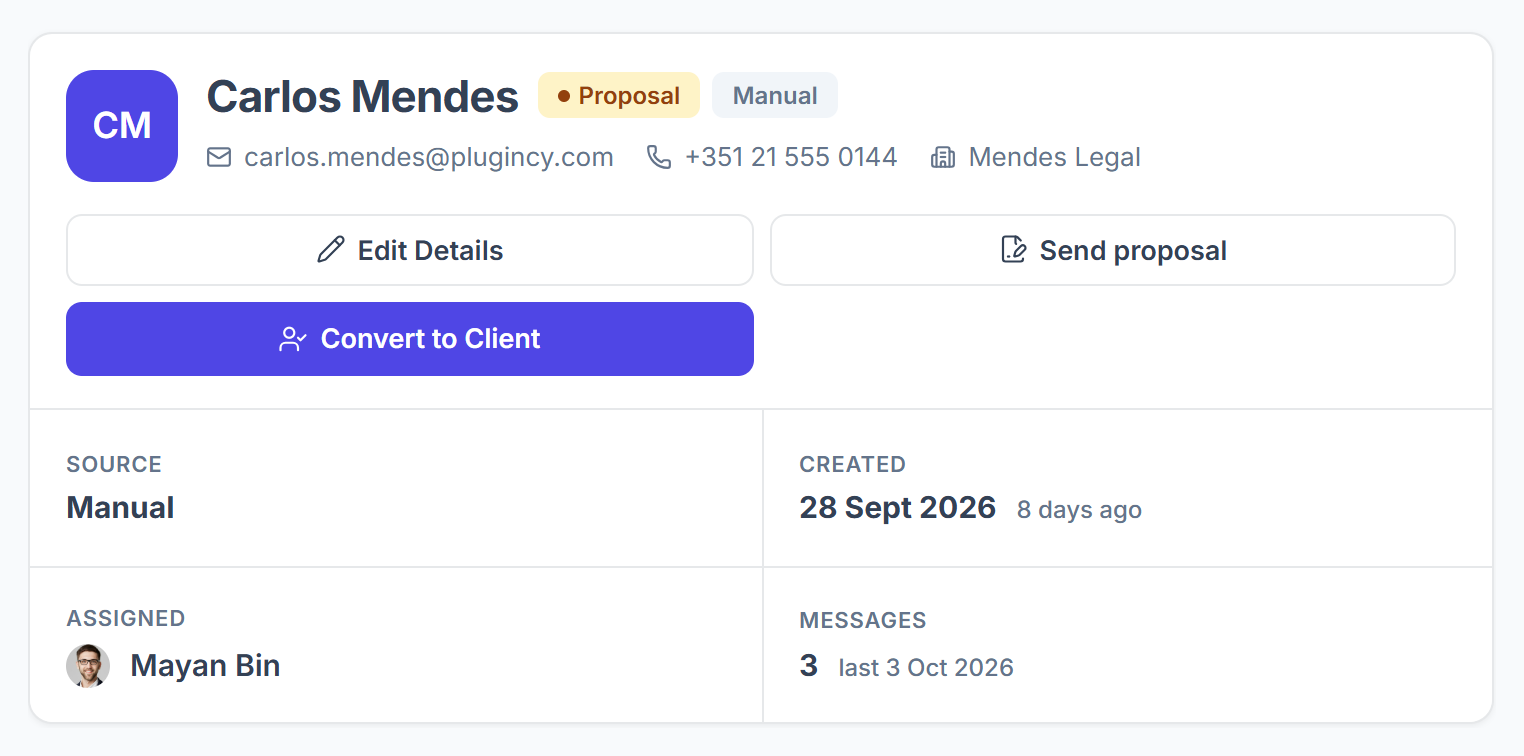
The top shows the lead’s status and source, their email, phone and company, and the buttons Edit Details, Send proposal and Convert to Client. Below them you see the source, when the lead came in, who is assigned and how many messages there are.

Switch tabs
Inquiry shows what they sent. Conversation is your chat with them, Email lead sends or schedules an email, and Email history lists the emails you sent.

Read the inquiry
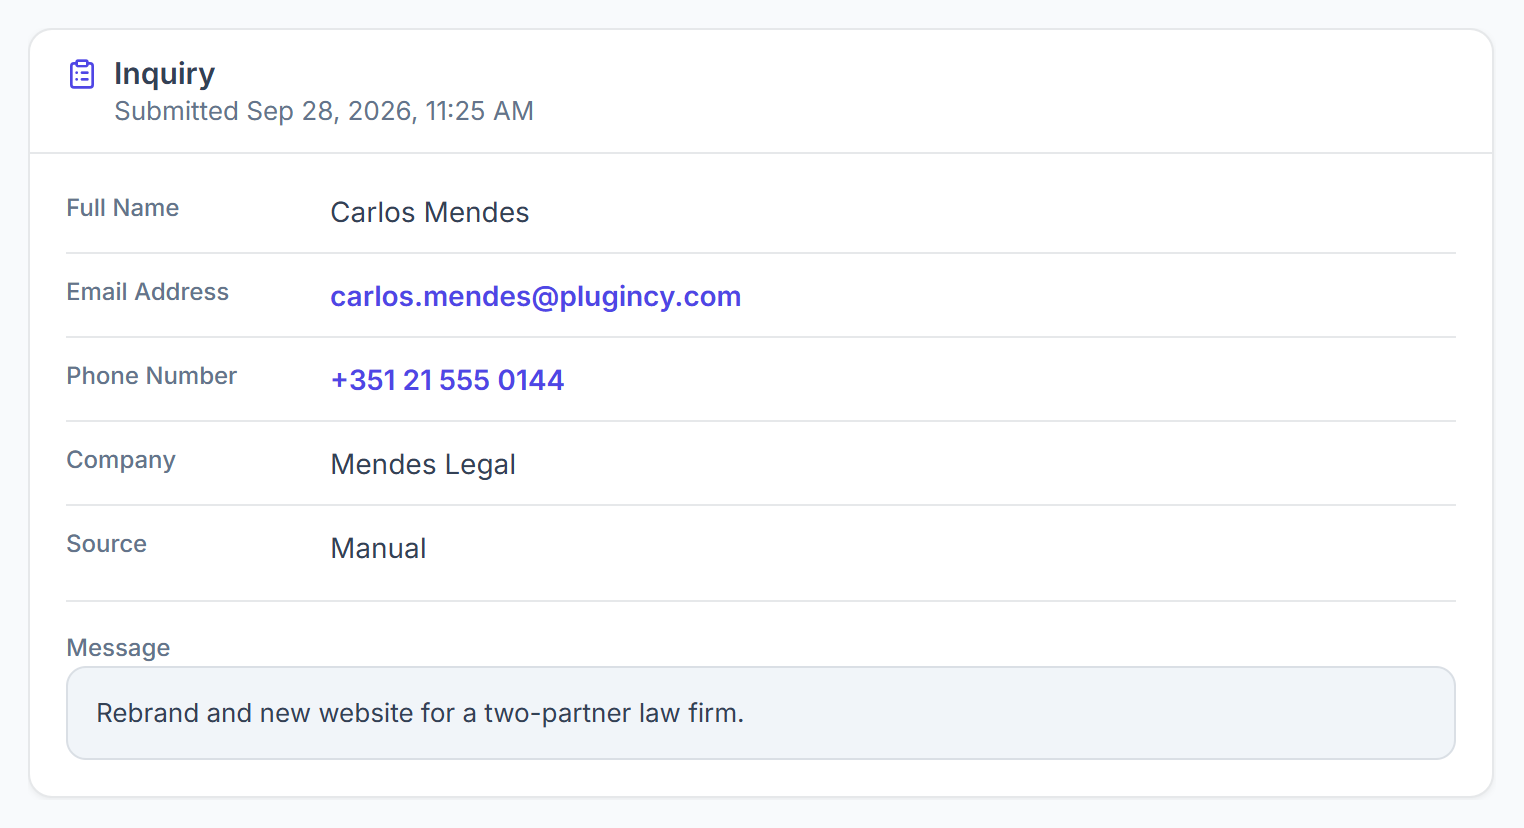
The Inquiry tab shows their name, email, phone, company, source and message, plus any form answers, attachments and consents. View form opens the form they used.

Move it through the pipeline
In the Pipeline card, click a stage or pick a Status; it is saved straight away. Change who is assigned under Assigned To and enter the Expected value.

Keep notes
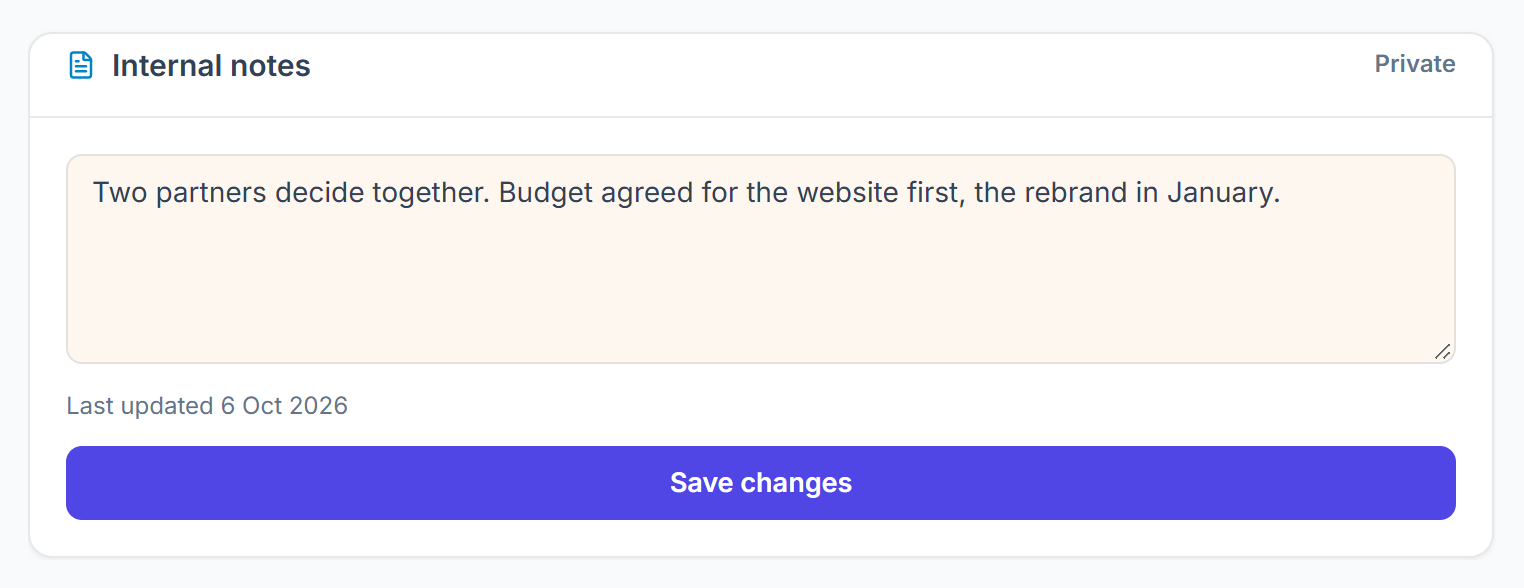
Internal notes are private to your team. Click Save changes to keep them.



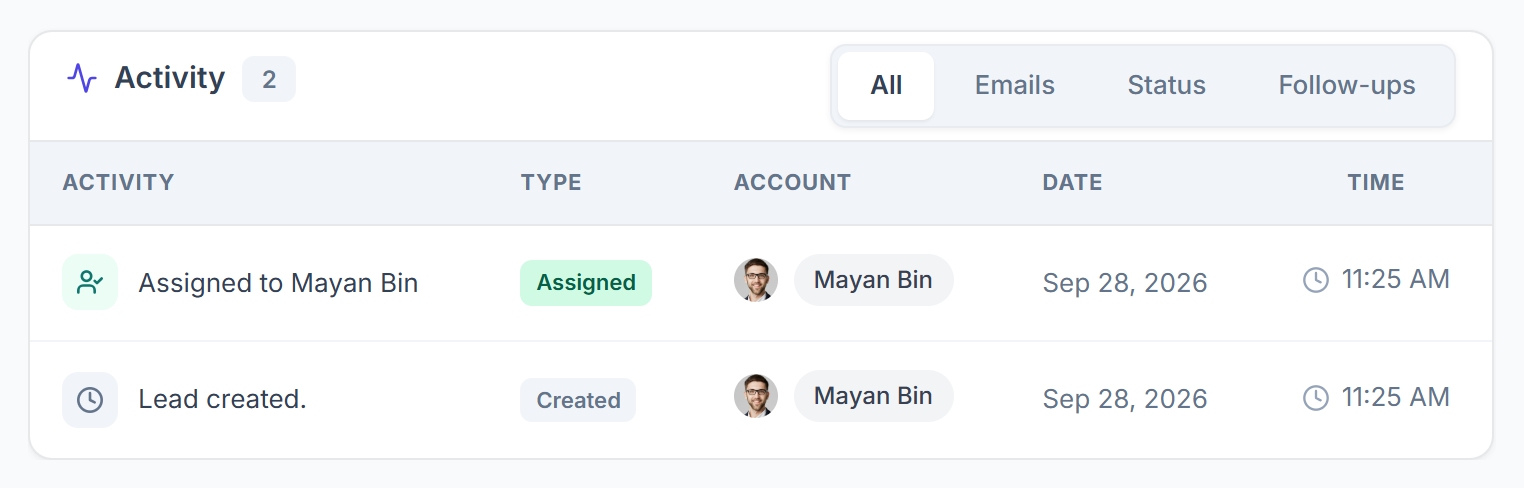
Activity
The Activity card lists what happened on the lead and who did it: created, status changes, assignments, notes, follow-ups, emails and the conversion. Filter it by Emails, Status or Follow-ups, and click a row for the details. Chat messages are in the Conversation tab, not here.