
Clientish Documents
Step-by-step guides for every module, from your first workspace to proposals, billing, support and automation.
How to Create an Automation in Clientish
Build an automation step by step: pick a trigger, add checks and steps, test it on a real record, then turn it on.
An automation in Clientish runs your next step automatically when something happens in your workspace. Here’s how to build one, test it on a real record without sending anything, and turn it on.
Who can do it: the workspace owner and admins, and team members whose role has Edit Company Settings
Before You Begin
- Know the event that should start the rule and what should happen next, for example: an invoice is 3 days overdue, so remind the client and notify the owner.
- To post in Slack, Microsoft Teams, Discord or Telegram, or to send SMS or WhatsApp, connect that channel to your workspace first; a step can only post where you’re connected.
How to Create an Automation in Clientish
Open Automations
Go to Settings → Automations (under Communication). Click New automation, or open Ready-made and press Use this on a rule that is close to what you need.
Name it
Give the rule a name your team will recognize in the list, for example Chase an overdue invoice.
Choose what starts it
Under When this happens, pick a Trigger. For a timed trigger, set After (or How long before for something coming due) and Counted in (hours or days). When it’s counted in days, pick the hour it is Checked at, then choose On these days. For a weekly or monthly schedule, set Repeats, the day and the hour At. Times follow your workspace clock.
Add checks if you need them
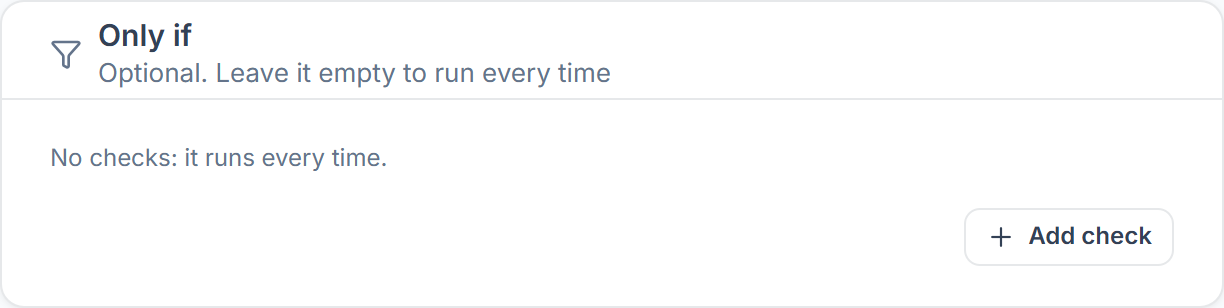
Under Only if, click Add check to limit the rule, for example to one service or to invoices over a set amount. You can add up to 5 checks, and all of them must match. With no checks, the rule runs every time.
Add the steps
Under Then do this, click Add step, choose what the step does and fill out its fields. Repeat for up to 8 steps. Use the shortcodes on the right, such as [client-name] or [invoice-no], to fill in details. Add If / otherwise to do one thing or another, or Wait, then carry on to pause before the next step.
Test it
Click Test run, pick one of your latest records under Test with and press Run test. You see what each step would do, or why it would be skipped. Nothing is sent or changed.
Save it
Press Save and turn on to start it now, or Save, keep paused to turn it on later from the list.


How to Pause, Copy or Delete an Automation
Each rule in the Automations list has its own switch and menu, so you can stop, copy or remove it anytime.
- The list shows each rule’s trigger, its steps, how many times it ran in the last 30 days and when it last ran.
- Use the switch to Pause a rule or Turn on again.
- Duplicate makes a paused copy you can change.
- Run history shows the last 100 runs from the past 30 days.
- Delete stops a rule immediately and removes its run history.
Automation Problems and How to Fix Them
Test run is grayed out⌄
I can’t save a rule with a Wait step⌄
The rule did nothing for invoices that were already overdue⌄
Related
- Automations: what they can start from and do
- Invoice Reminders: the built-in reminder emails
- Integration Catalog: connect Slack, Teams and more